Last weekend I finished my first quilling project— a fox! I love those beautiful animals, so I thought it was a perfect place to start.
To start, of course, I needed a template to go off of. I decided I would try to draw my own—but failed miserably. I could have kept trying, but I didn’t have the patience, so I hopped on the computer in search of the perfect template. It took a little digging, but finally my quest was fulfilled—click below to get the template. 😉
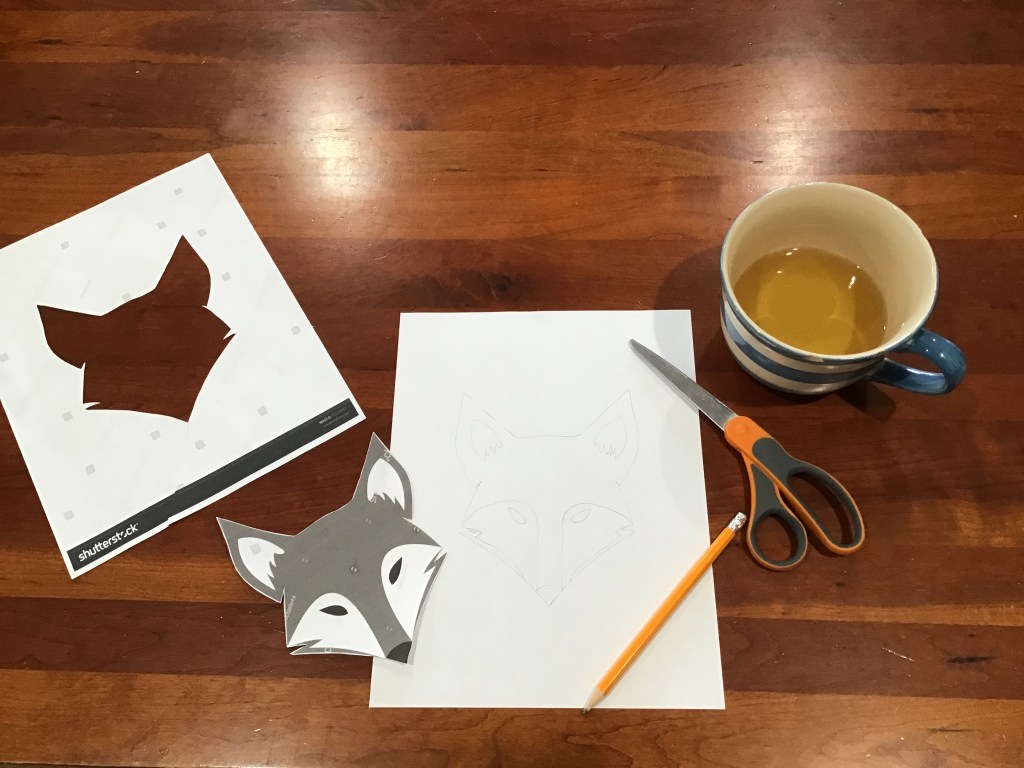
I cut the face out, traced the outline onto a new piece of paper, and filled in the details freehanded.
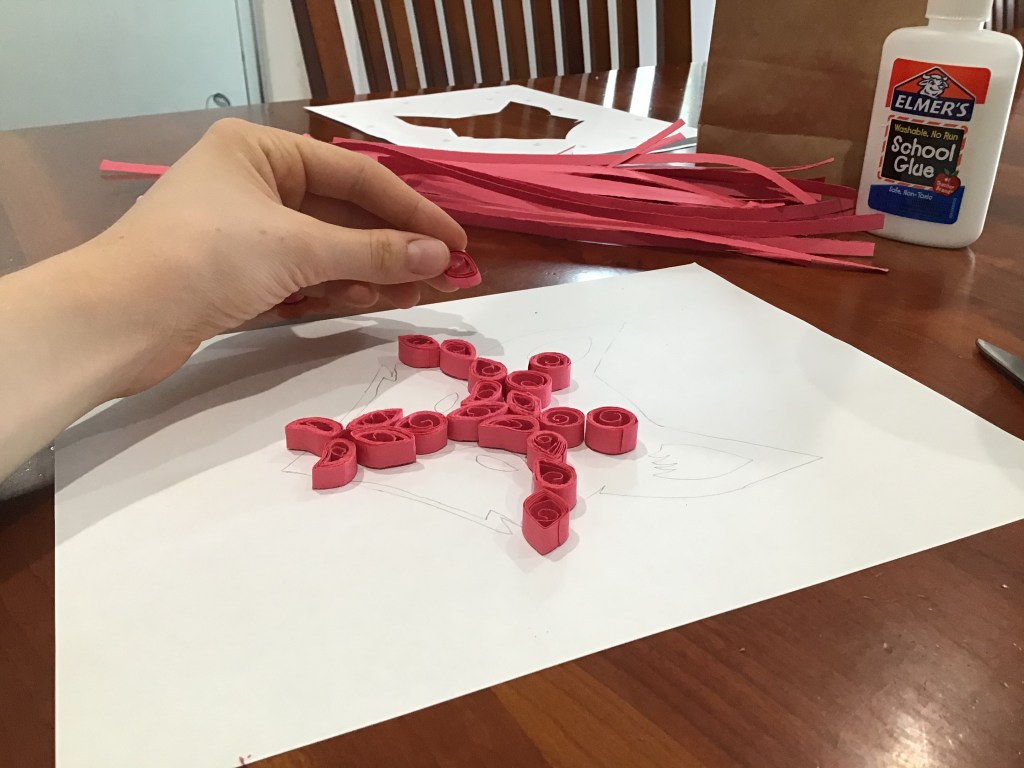
I then proceeded to fill in my template with quilling. I had already made a pile of shapes ahead of time in preparation for this project, but I ended up having to make a few more to finish it.
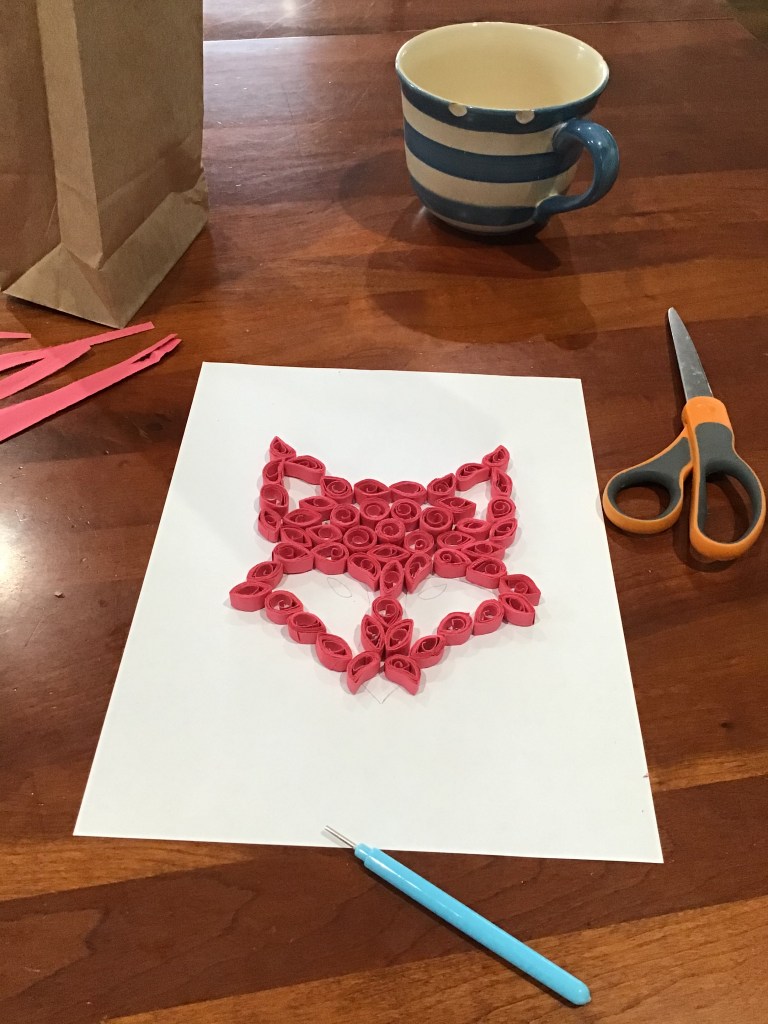
Once I was happy with my design, I snapped a photo of it to help me remember where to glue everything later.
I wasn’t sure that school glue would give me the hold I wanted, so I opted to use hot glue instead.
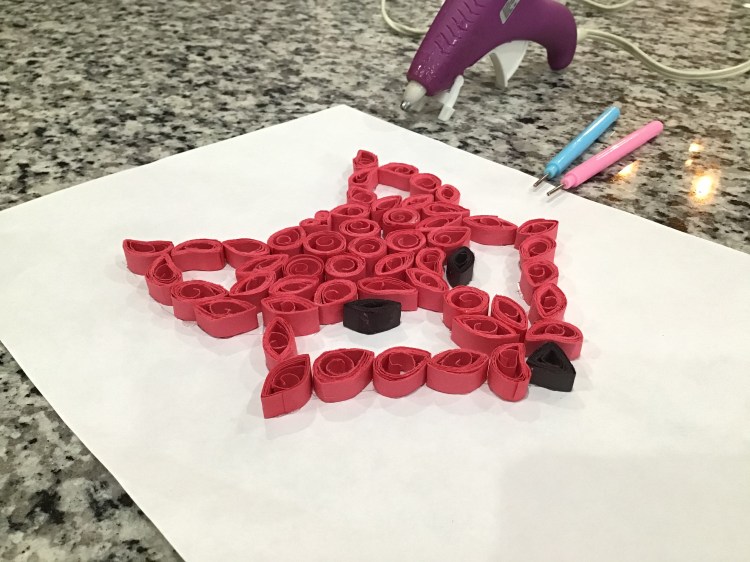
Using a teensy bit of glue, I did my best to recreate my design. It didn’t turn out exactly the same, but that doesn’t matter; I was still very pleased with it. 😉 I think there are a few ways I can improve on my efficiency and techniques though, so if you have any advice, let me know in the comments below! 😁
